I made a raised flower bed. My wife loves to garden but has arthritis which has gotten progressively worse limiting what she can do.
This planter is slightly taller than the ones you can buy from DIY shops and fairly large. It’s just above waist height which should make a big difference.
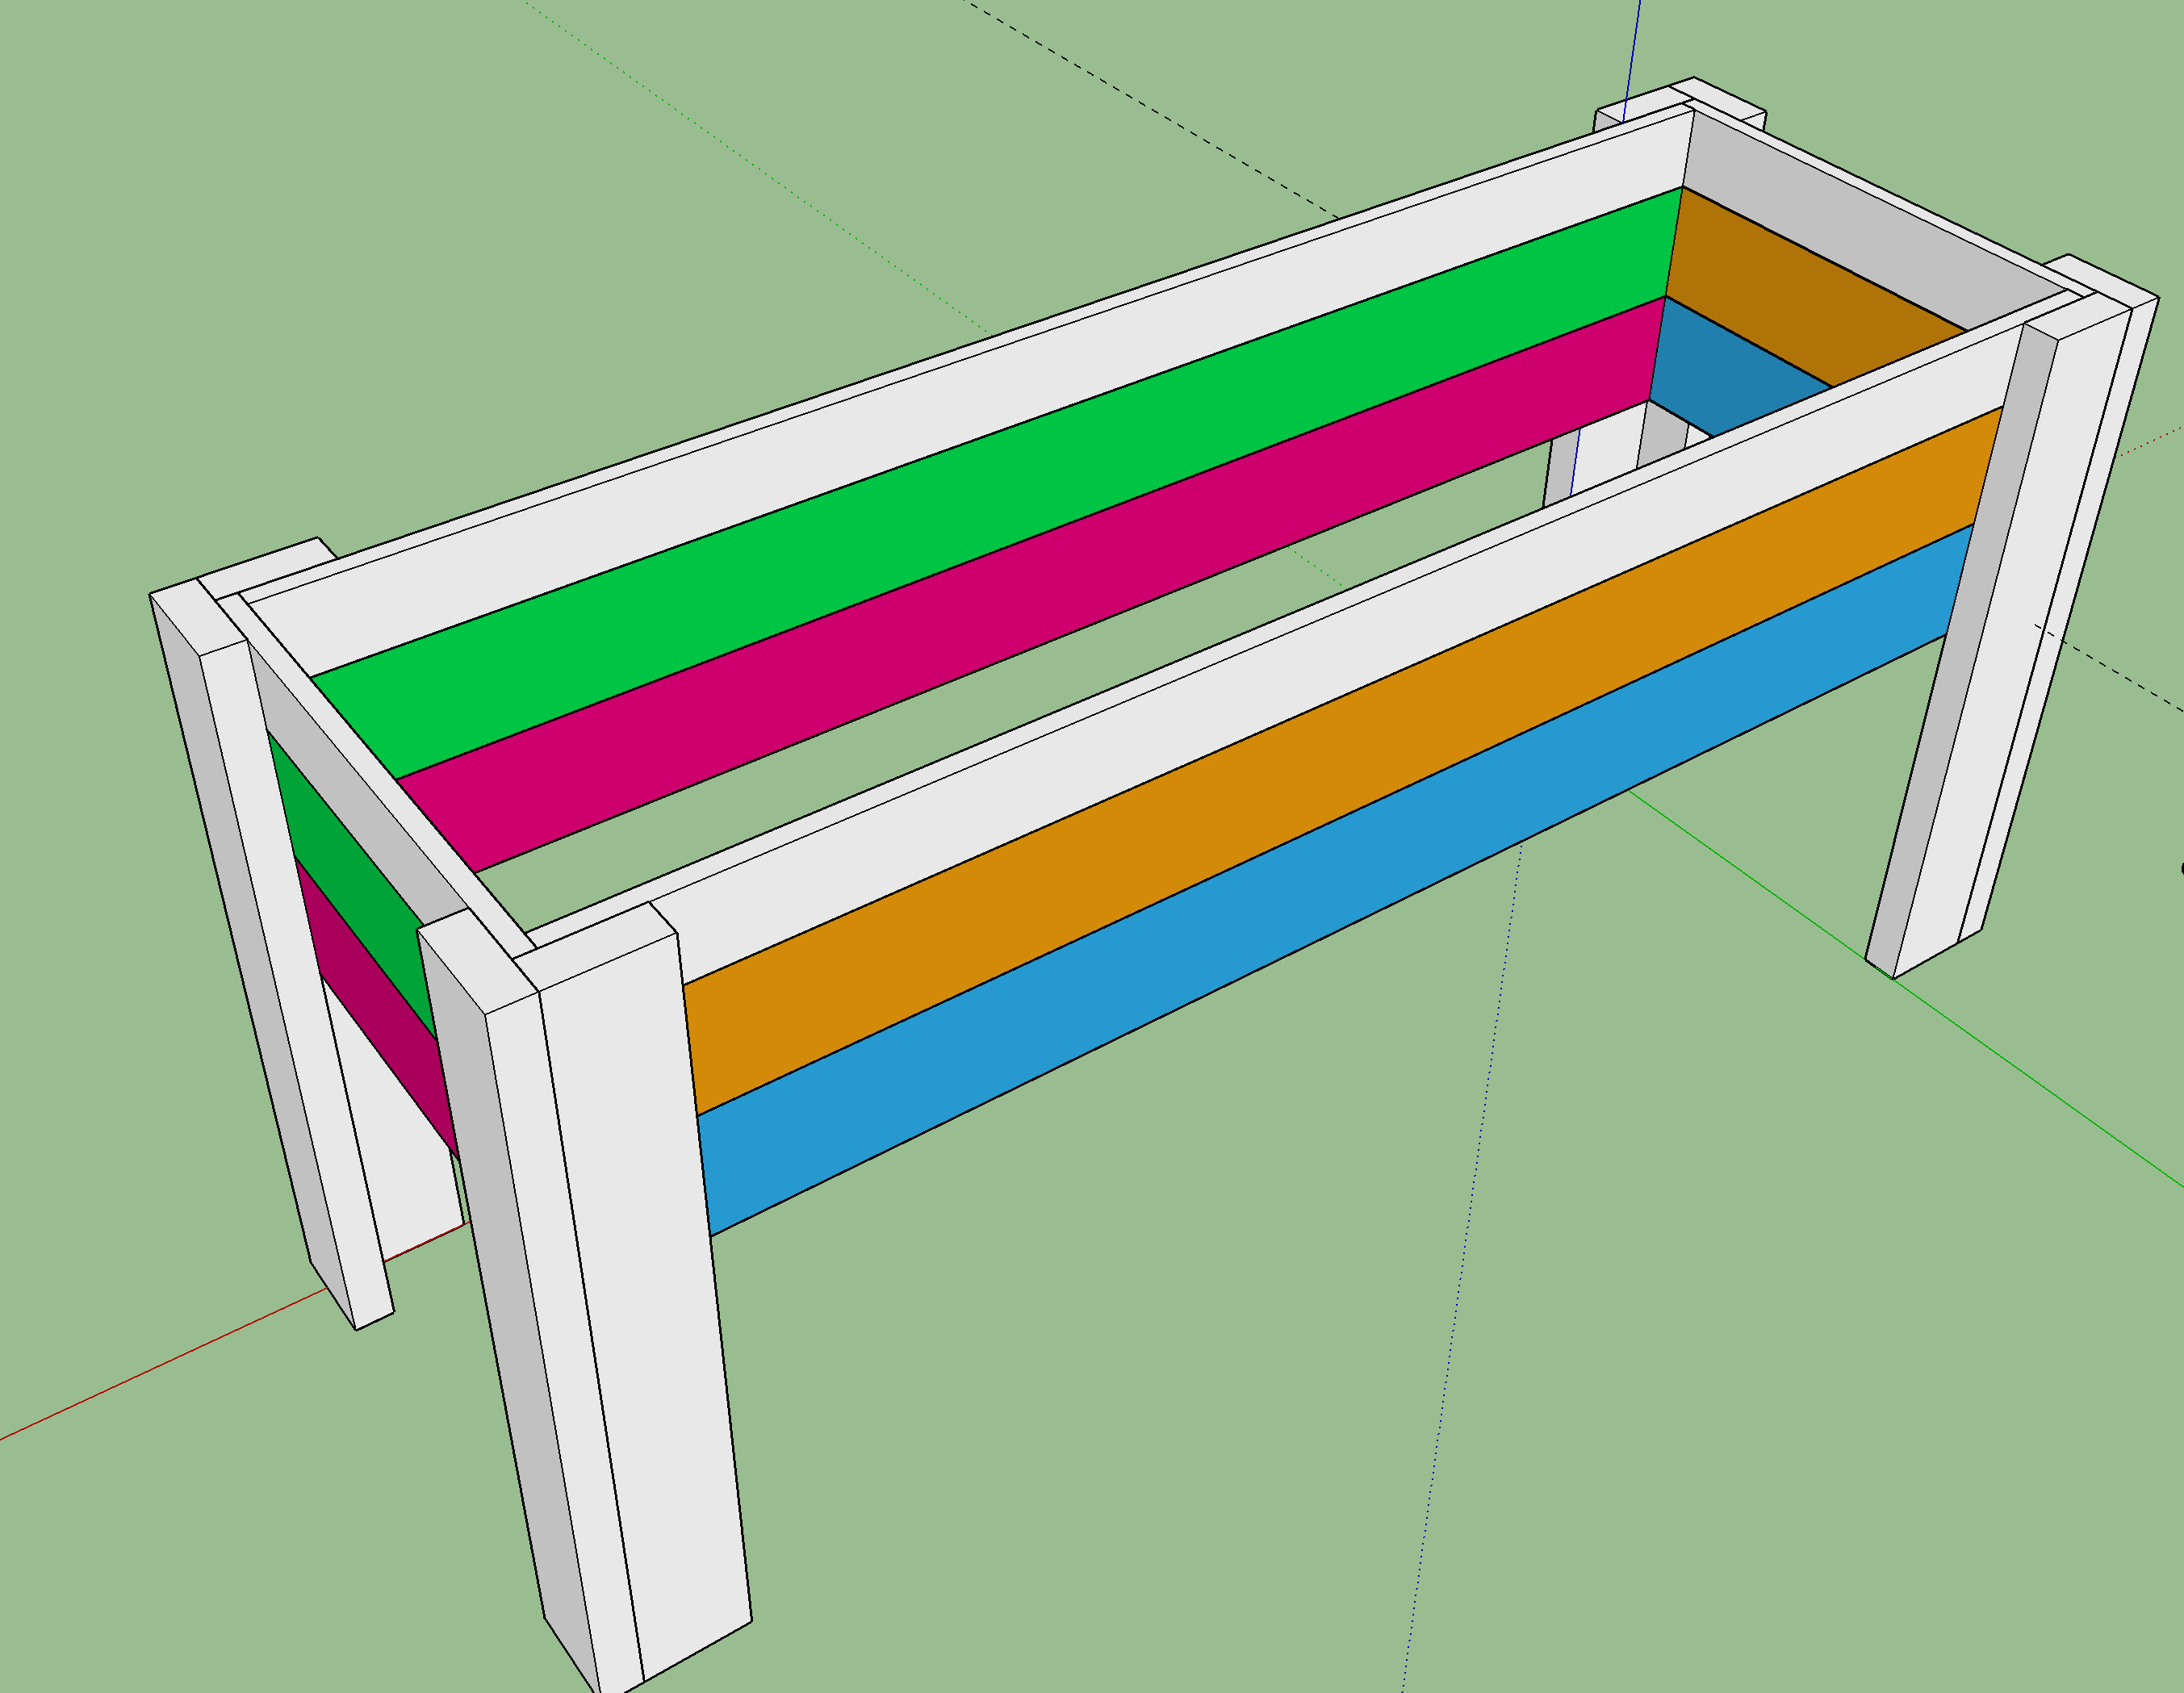
I designed it all in SketchUp and had my plans for it so thought others might find it useful too.
Design
You can download the SketchUp CAD file that I made here.
Materials
I’ll reference these materials by name in the steps below.
| Name | Quantity | Dimensions | Unit Price | Total |
|---|---|---|---|---|
| A | 6 | 22 x 150 x 3000 mm (link) | £8.40 | £50.40 |
| B | 4 | 22 x 100 x 3000 mm (link) | £6.45 | £25.80 |
| C | 2 | 45 x 145 x 3600 mm (link) | £14.58 | £29.16 |
| - | - | - | - | £105.36 |
Tools
Required
- Miter Saw (even better if sliding) or can be done with a hand saw if you’ve not got one
- Screwdriver
- Drill
Cutting Steps
1. Take 4 of (A) and cut each into the following lengths:
- Short side (600mm)
- Slat (556mm)
- Long slide (1844mm)
You should be left with no waste. and now have 12 cuts in total.
2. Take 2 of (B) and cut each into the following lengths:
- Short side (top) (600mm)
- Slat (556mm)
- Long slide (top) (1844mm)
You should be left with no waste. You’ll now have 6 new cuts and now have 18 cuts in total.
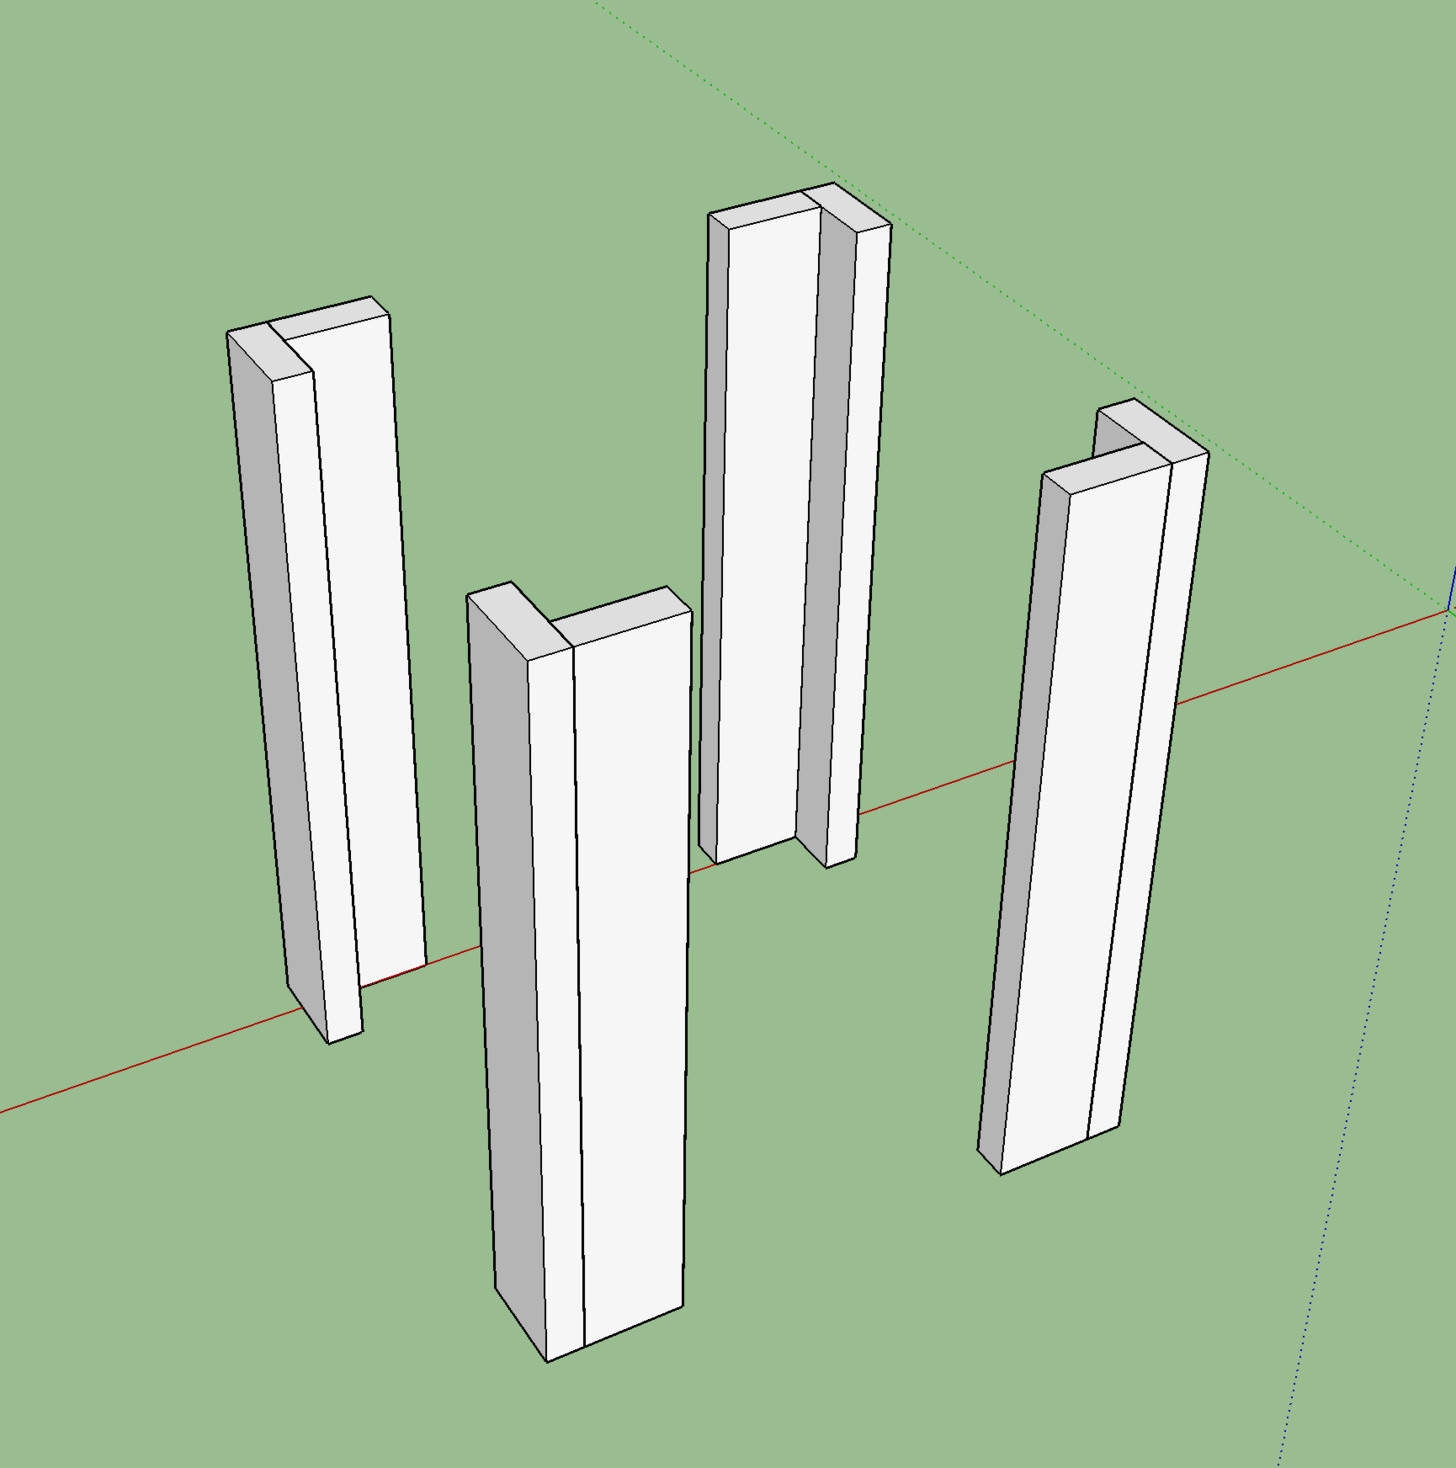
3. Take all 2 of (C) and cut equally into:
- Leg part (900mm)
You should be left with no waste. You’ll now have 8 new cuts and now have 26 cuts in total.
Note: I wanted to make this planter quite tall, you can reduce these cuts down to about 825mm for a more typical height.
4. Take 1 of (A) and cut into:
- 5 x 556mm (more slats)
You should be left with 220mm waste. You’ll now have 5 new cuts and now have 31 cuts in total.
5. Take 1 of (A) and cut into:
- 2 x 556mm (yet more slats)
You should be left with 1888mm which needs cutting down the middle lengthways to create:
- 2 x 1888mm x 75mm (slat supports).
Note: Cutting lengthways doesn’t have to be precise as this won’t be visible.
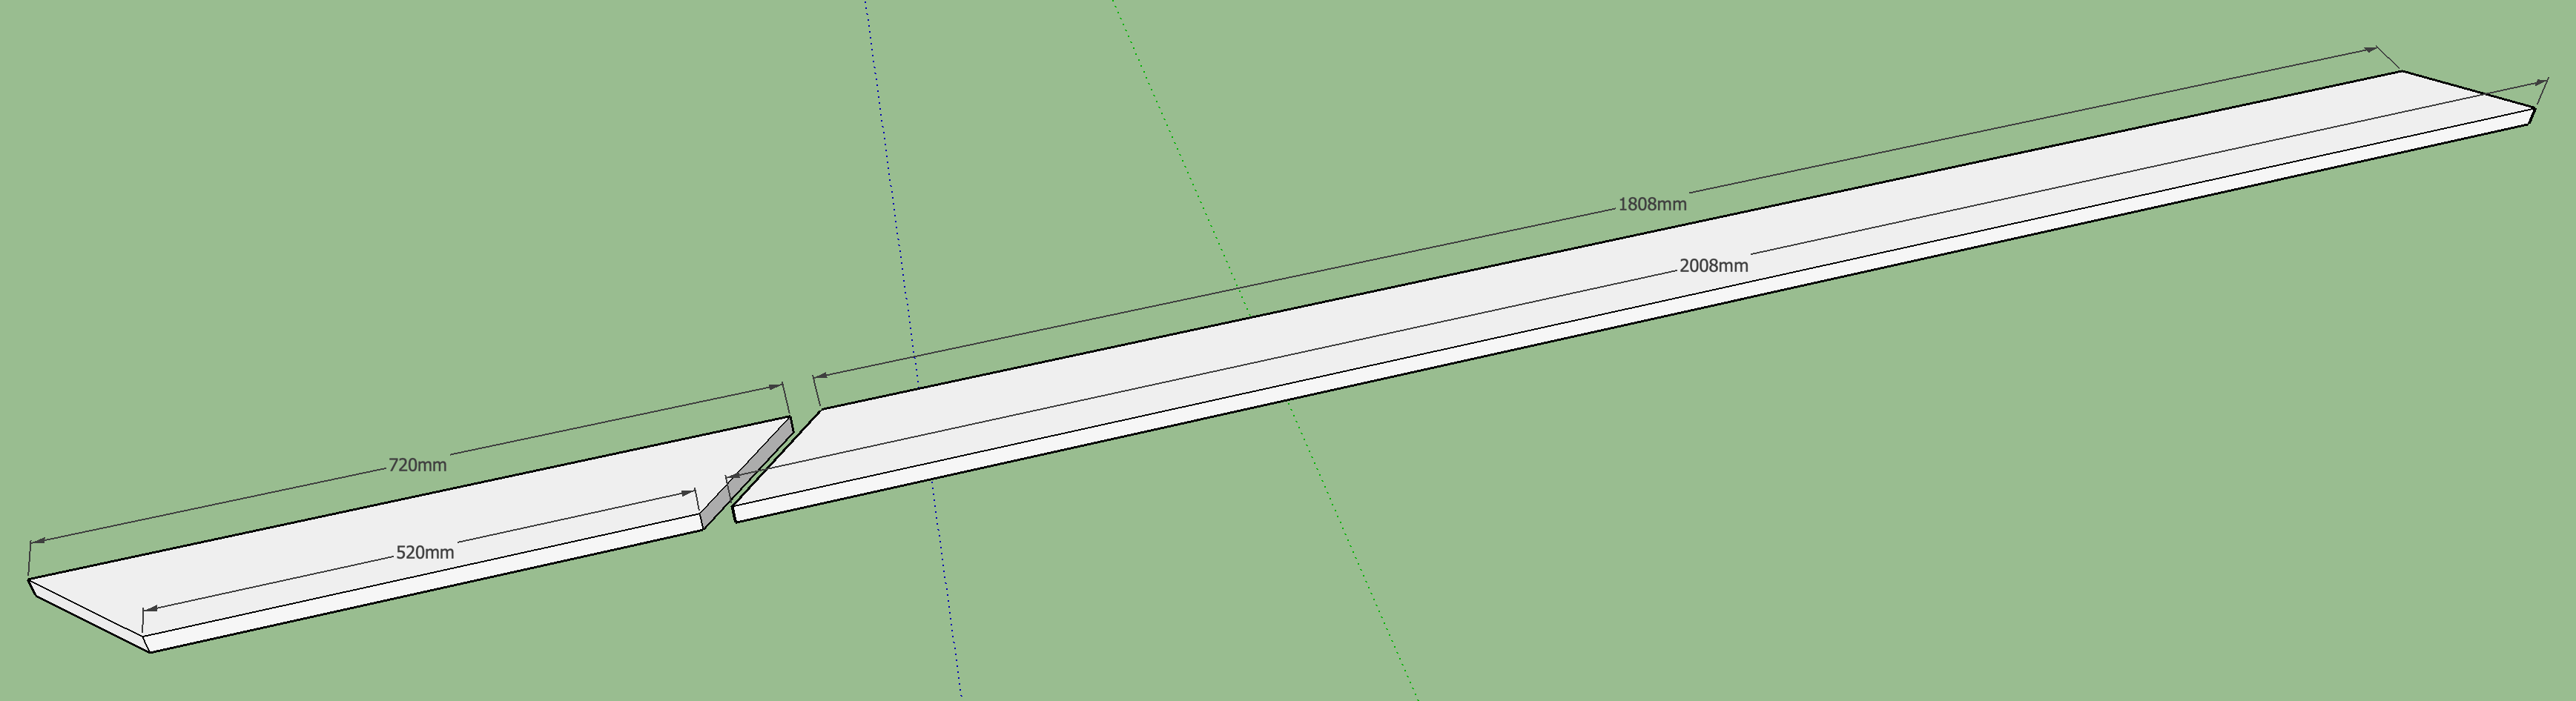
6. Take 2 of (B) and cut each end at 45 degrees to make two cuts where the longest side is:
- 720mm (short side decorative top)
- 2008mm (long side decorative top)
Building Steps
Note: For everywhere that it says to screw first create a pilot hole will a drill bit slightly smaller than the screw to prevent the wood from splitting.
Steps
- Screw the leg pairs together
- Screw the short sides (3 per side) to a pair of legs twice.
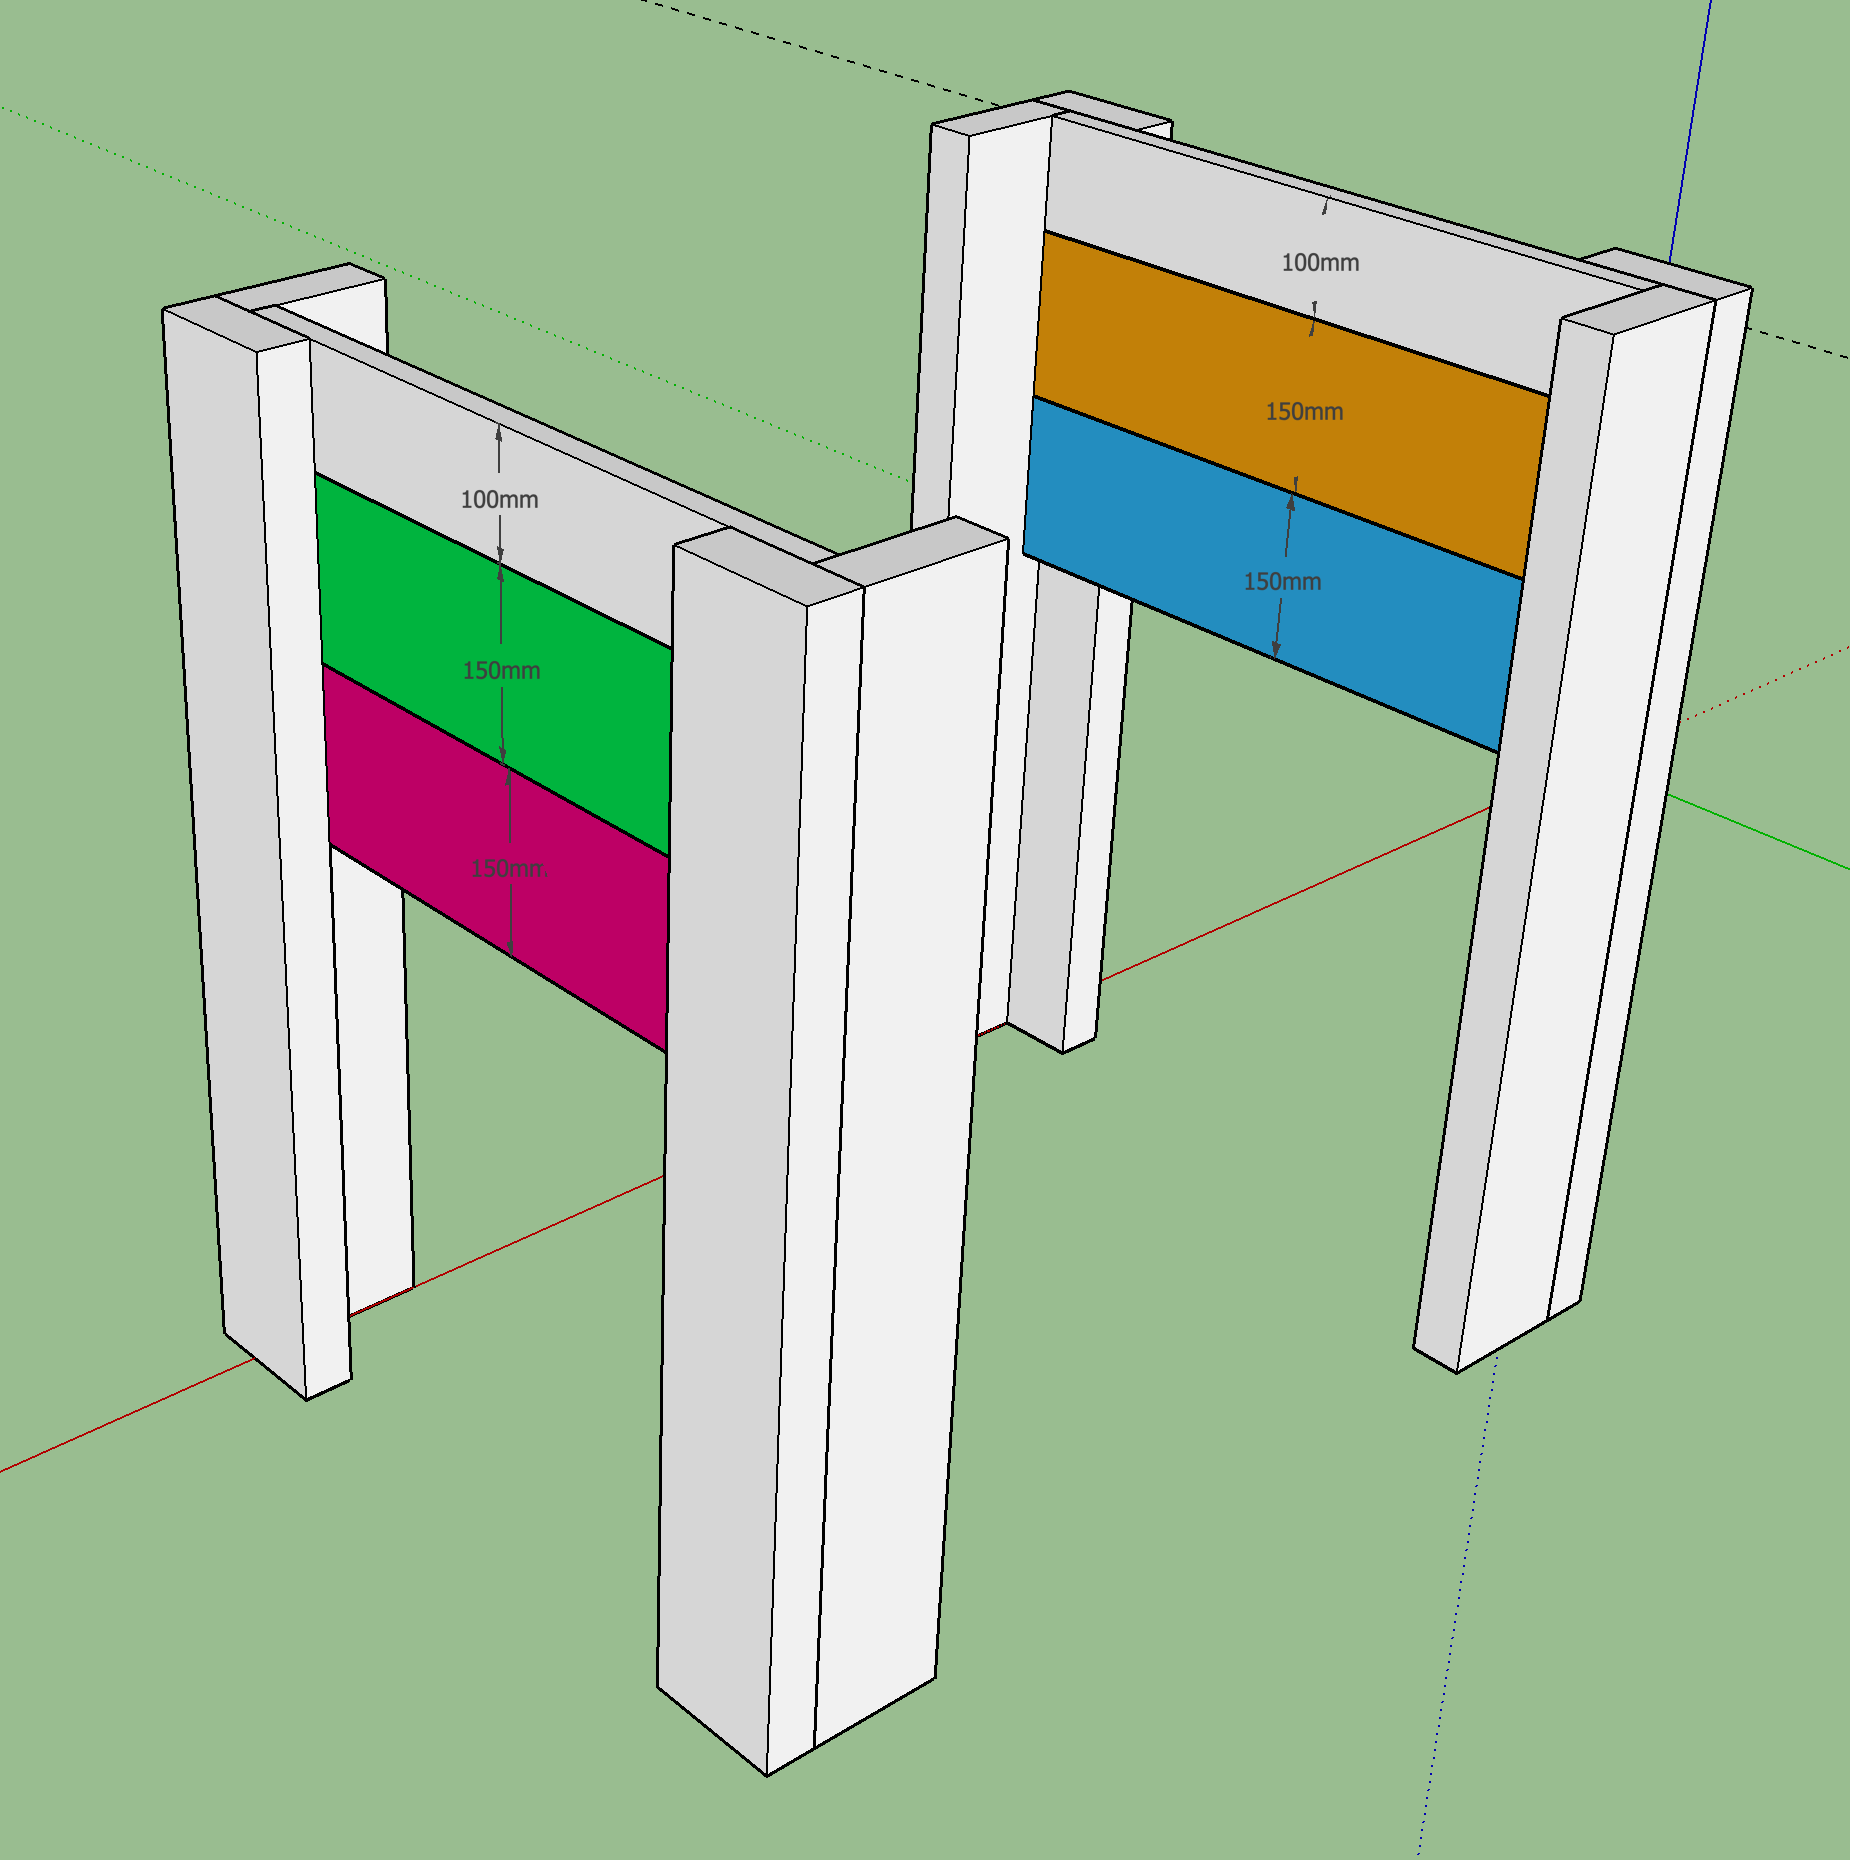
- Screw the long sides (3 per side) to the two sides
-
Turn the table upside down
-
Take the supports and add the supports directly by the sides. I recommend using a brace to support it against the legs too.

-
Turn the table back upright
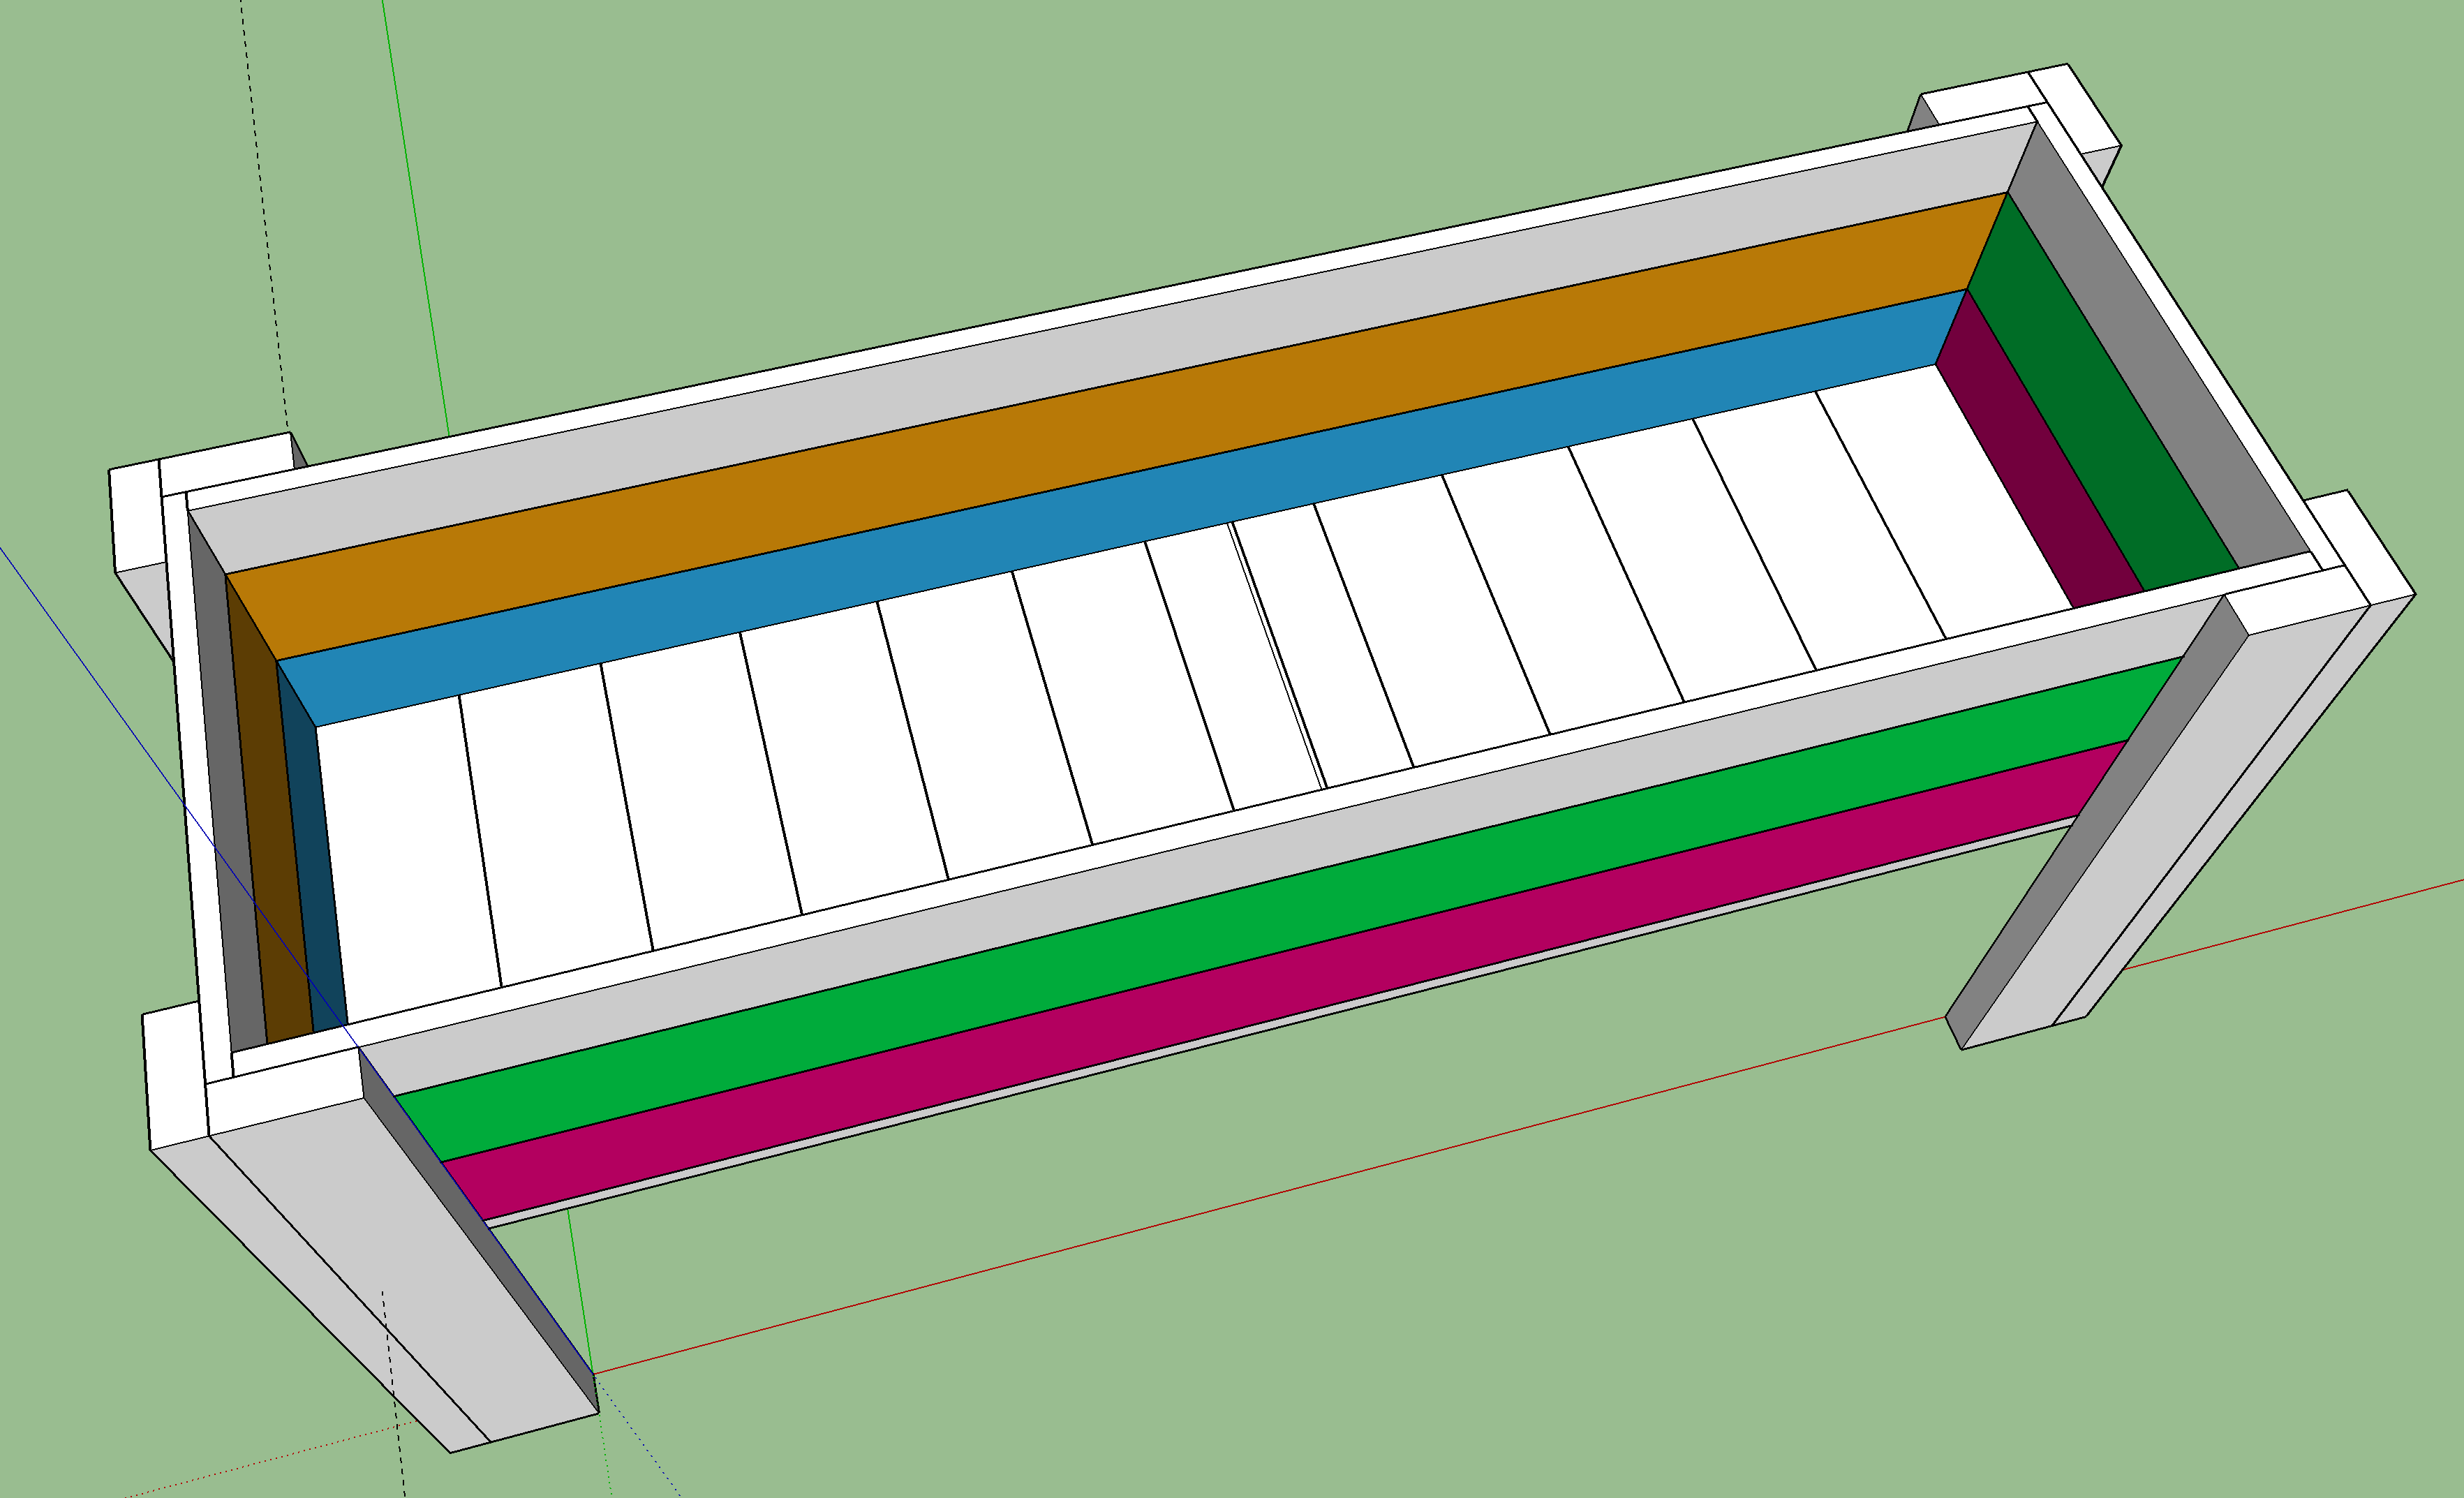
-
Lay and screw in the 13 slats (11 that are 150mm wide + 2 that are 100mm wide). You’ll likely find that the last slat will be about 10mm to wide so you’ll have to trim this off.
- Screw the decorative tops on. These should hang over the edges by 15mm all around.
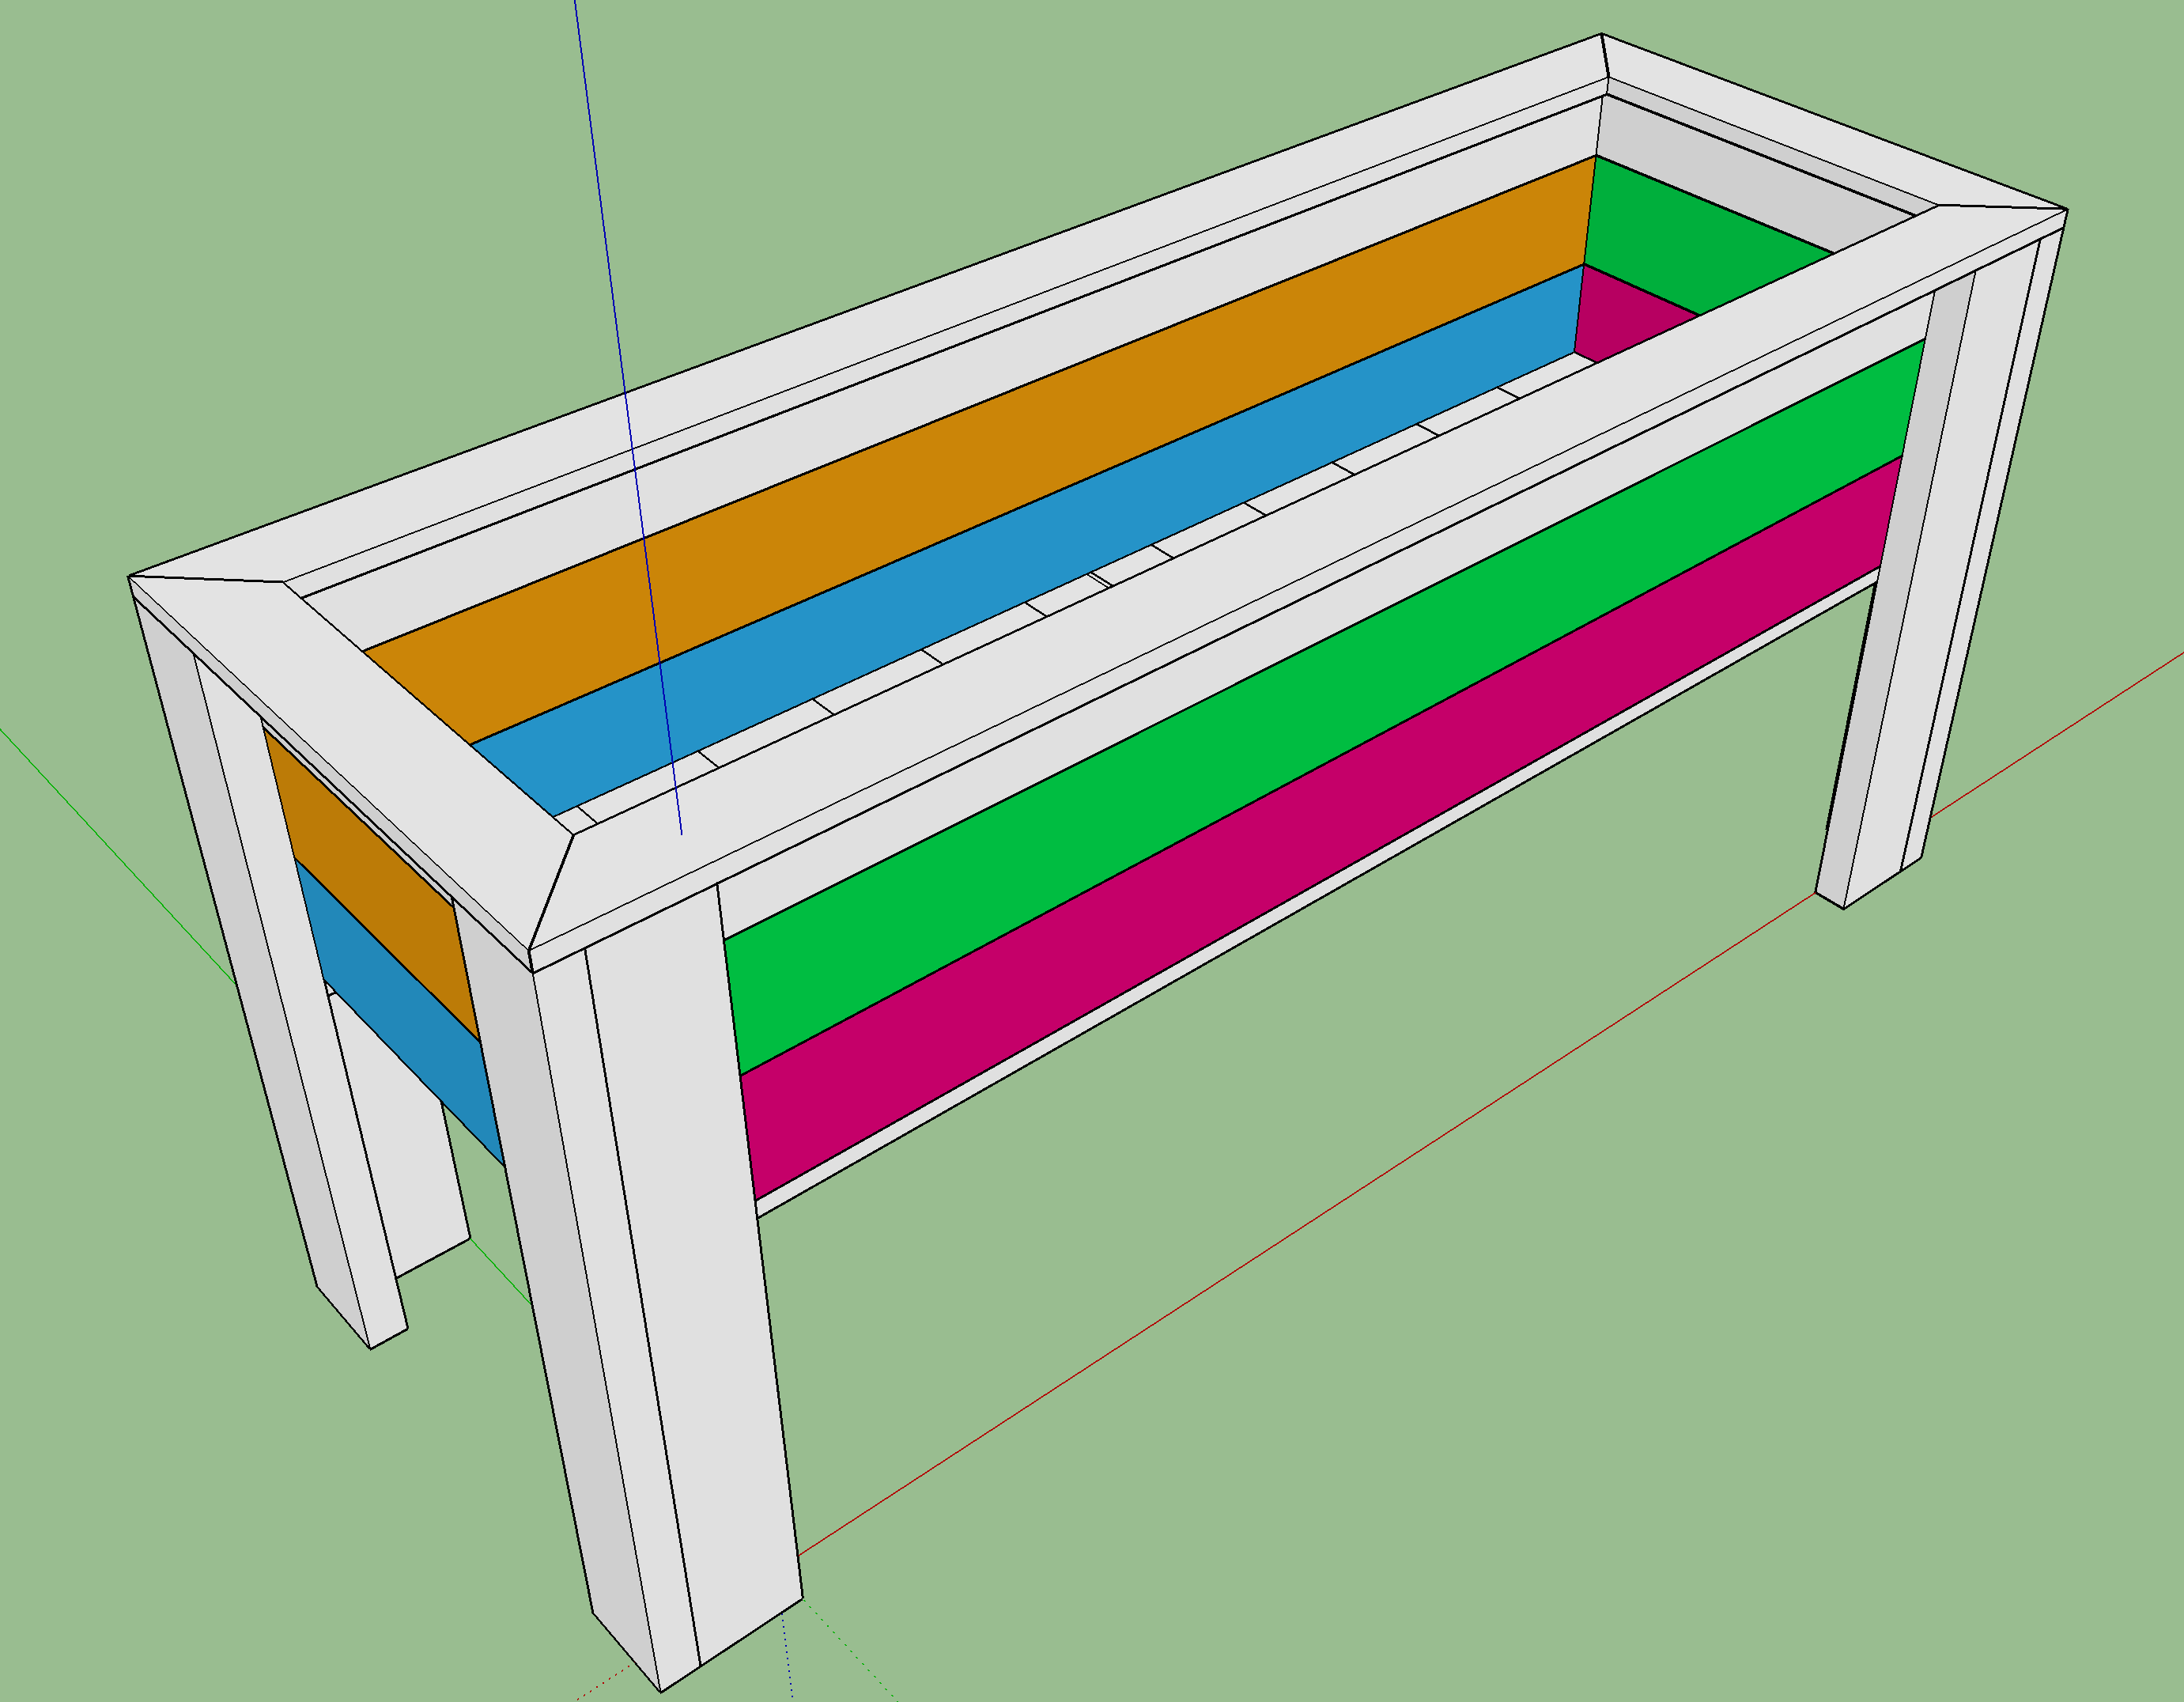
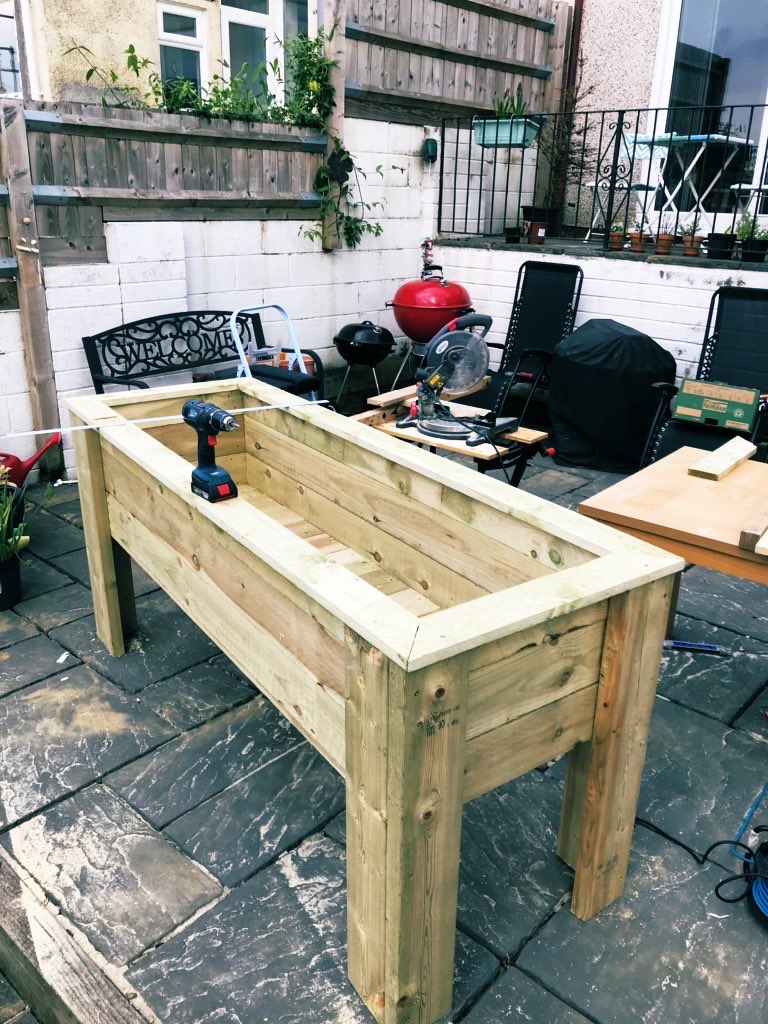
Final result